Teams
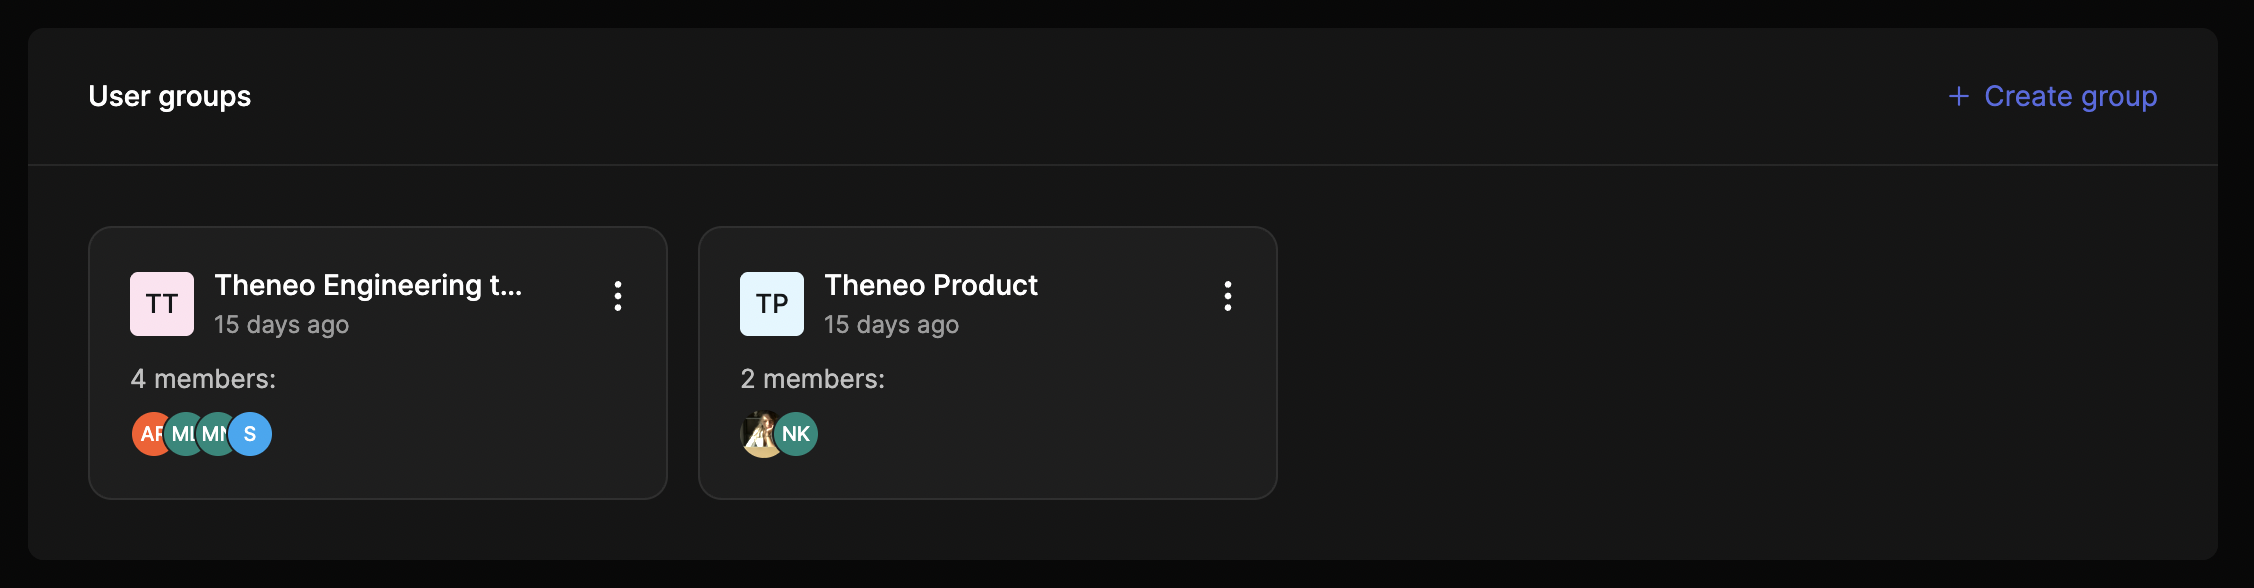
User groups (also called teams) let you manage access by group, so you can assign roles and projects to a whole group at once. You manage them in Admin, under User Management.
Users vs external customers
Two kinds of people interact with your workspace, and they are managed separately.
Workspace users
People in your organization who log in to build and manage docs. They hold a workspace role (Admin, Publisher, Editor, or Guest) and are managed in Admin under User Management, where you can also organize them into user groups.
External customers
People outside your organization you give access to specific private docs, such as partners or clients. They do not get workspace access and are managed in Admin under External Customer Management.
Why use teams
Access at scale
Grant or revoke access for an entire group in one action, instead of editing members individually.
Mirror your org
Model teams on how your company actually works, so permissions are easy to reason about.
Faster onboarding
New hire? Add them to a team and they immediately get the right projects and roles.
Directory-driven
With SCIM, IdP groups sync straight into Theneo teams.
Create and manage a team
1
Open Workspace settings
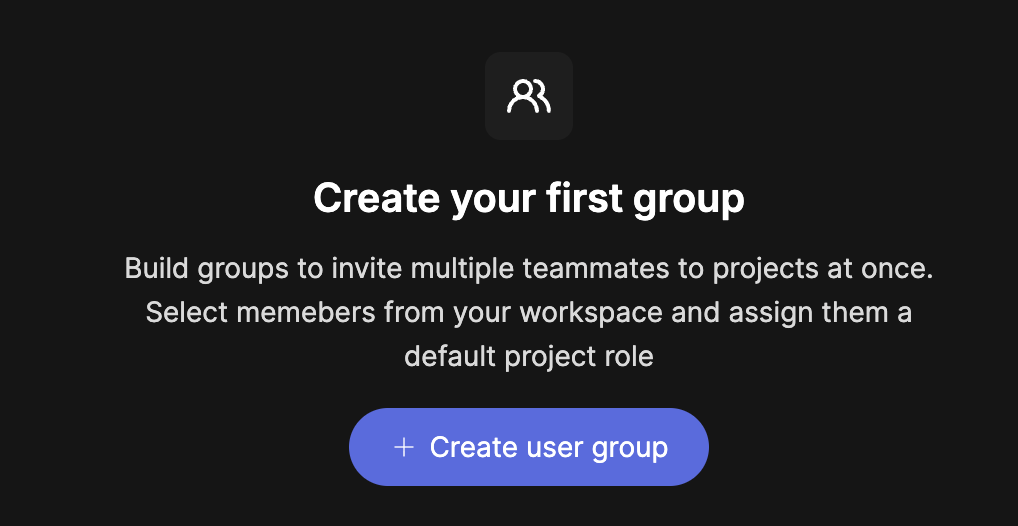
As a Workspace Admin, go to Settings → Admin→ User Management, scroll down → click on “Create user group”
2
Create a team
Name the team to reflect a group, department, or customer.
3
Add members
Add people to the team or let SCIM populate it from your identity provider.
4
Assign access
Grant the team roles and project access. Every member inherits it automatically.
Need per-person or per-section control? Combine teams with Access Management for granular, even section-level, permissions.
External customers
External customers are people outside your organization that you grant access to specific private projects, such as partners, clients, or design partners. They can read the docs you share with them, but they get no workspace access and cannot edit or manage anything.
Manage them in Admin, under External Customer Management.
Inviting a customer
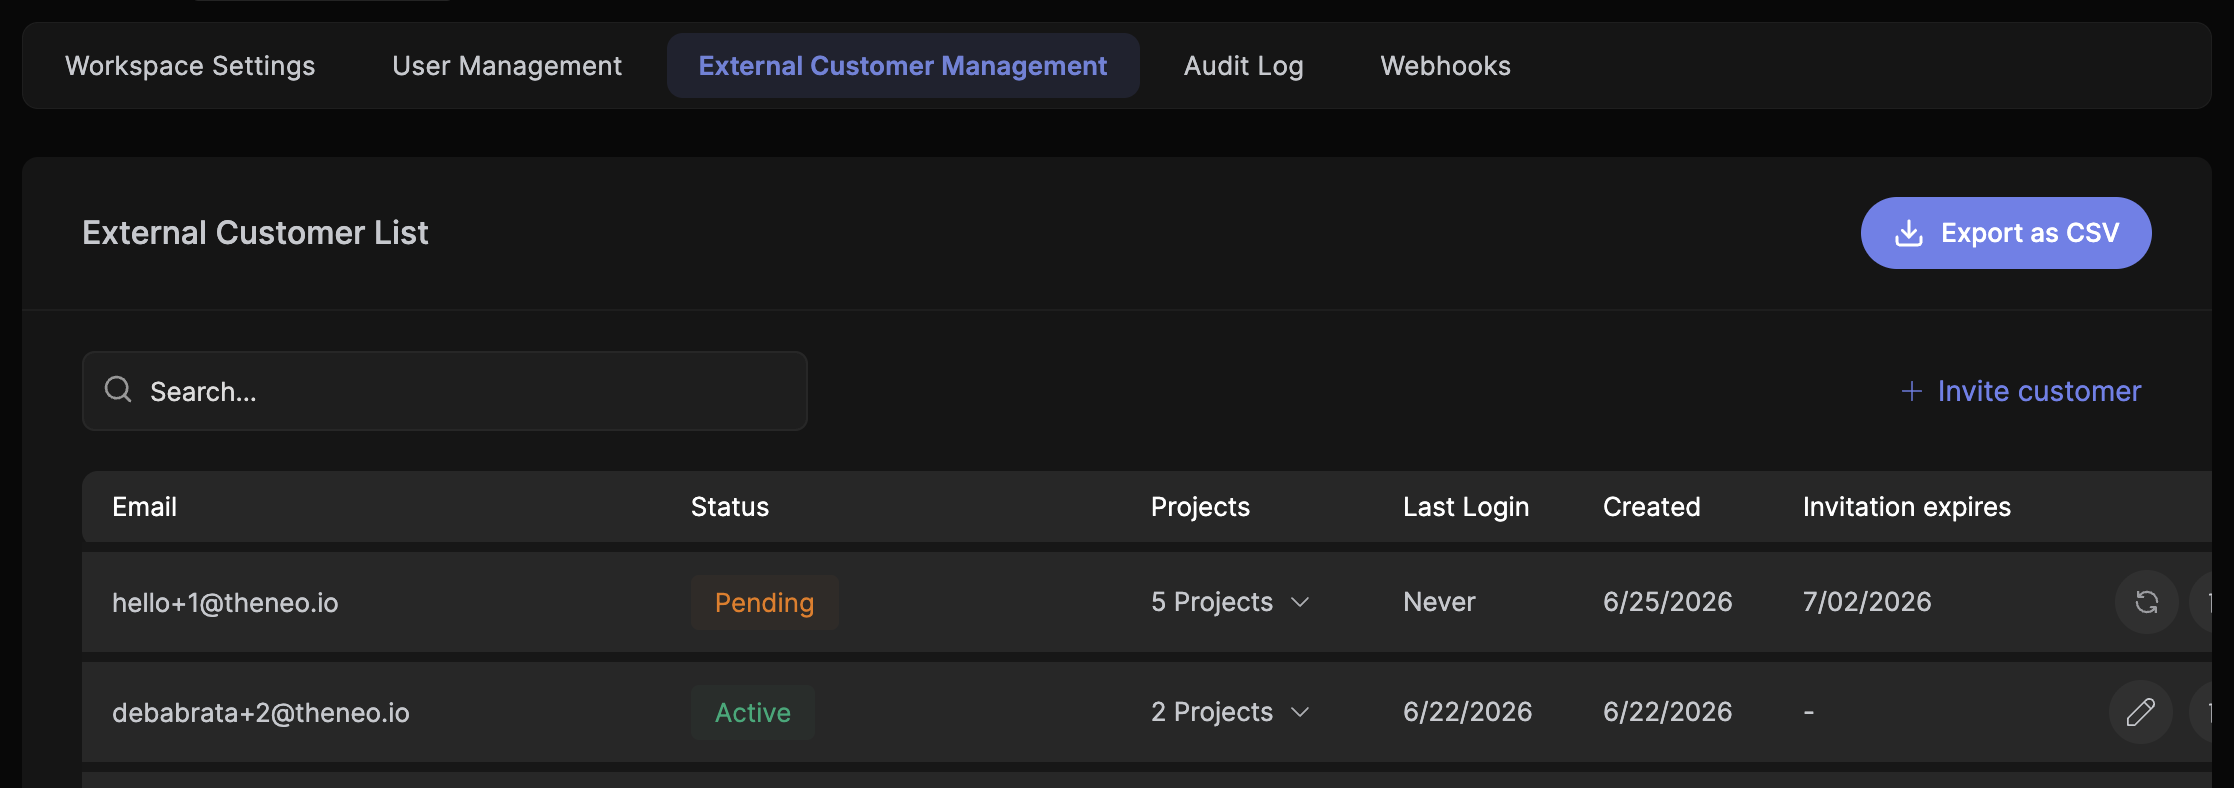
Click Invite customer, enter their email, and choose which projects to share. They receive an invitation. Until they accept, their status shows Pending and the invitation has an expiry date.
The customer list
Each row shows one customer and their access:
- Email: the customer’s address.
- Status: Active once they accept the invitation, Pending until they do.
- Projects: the projects they can open. Expand the row to see all of them.
- Last Login: when they last opened the docs, or Never.
- Created: when the invitation was sent.
- Invitation expires: the date a pending invitation lapses.
Use the row actions to edit a customer’s access, resend a pending invitation, or remove them. Use Export as CSV to download the full list.


On this page
- Teams