Access Management
Access Management controls who can see and edit your docs, down to the individual section and user.
Project access vs workspace access
Access in Theneo works at two levels. Knowing which one you have explains what you can and cannot do.
Project-level access
Granted on a single project. You can view or edit that project according to your role, but you cannot create new projects or change anything else in the workspace.
Workspace-level access
Granted across the workspace. Depending on your permission you can edit branding, create new projects, and open existing projects that have been shared with you.
The two are independent. Someone can have access to a single project with no workspace access at all, which is how you bring in outside collaborators without exposing the rest of your workspace.
Project visibility
Every project is private by default. Set the visibility that fits your audience:
Public
Anyone with the URL can view the documentation. Ideal for sharing your API reference widely.
Private
Only you and the people you invite can view and edit the project. This is the default.
Private for external customers
Give specific external users their own view through your external private hub, without opening up the whole project.
Share a project with the whole workspace
On a project's Access Management tab, the toggle Anyone in the workspace can view or edit the project opens that project to everyone in your workspace at once, without inviting people one by one.
Turn it on, choose a role from the Permission dropdown, and click Confirm. Every workspace member then gets that level of access to the project:
- Editor: can make changes to the project.
- Viewer: can view the published project but not edit it.
This applies to future members too. Anyone who joins the workspace later automatically inherits the same access, with no extra setup.
Inviting individual members
Invite teammates such as developers, product managers, and technical writers by entering their email addresses and pressing Enter. Each invitee receives an email to view or edit the project based on the permissions you set.
Permission levels
- Editors can make changes: add, modify, or delete sections, update content, manage SEO, and more.
- Viewers (Guests) can only view the published project. They can use the information but cannot change content.
Advanced access management
Theneo supports both project-wide and section-specific access controls, so only authorized users can view or edit particular sections and subsections.
This is how you deliver personalized documentation. Because visibility goes all the way down to the individual section and the individual user, different readers can see different content within the same project, all without maintaining separate docs.
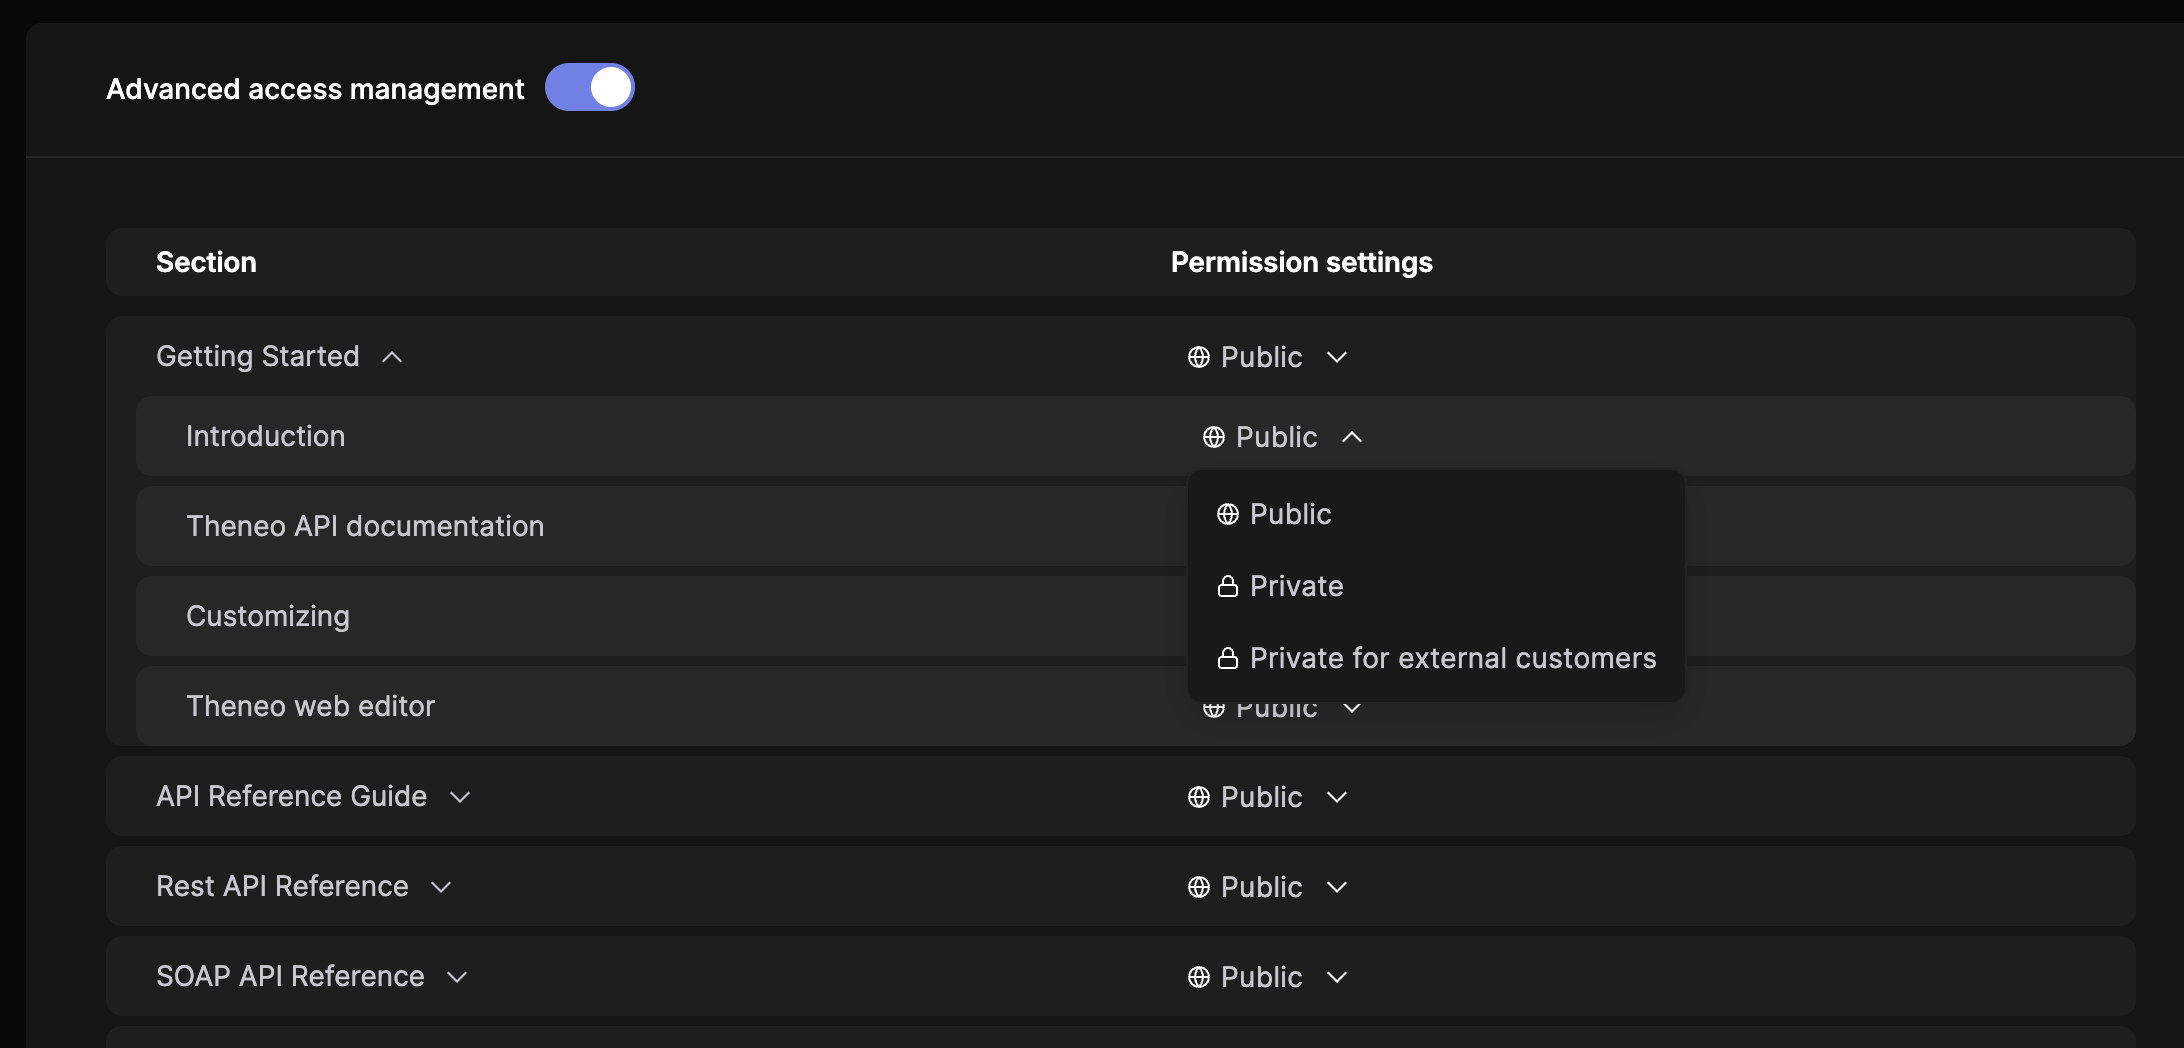
Section access levels
On any section or subsection, choose one of four levels:
Public
Visible to everyone who can see the project.
Private
Hidden in the published view from anyone not granted access.
Editors and Admins always see every section. Private, user-specific, and external-customer restrictions apply only to guest viewers and public readers, so preview your docs or sign in as a guest to confirm what they actually see.
User-specific access
User-specific access opens a single section to a hand-picked set of viewers while keeping it hidden from everyone else. Use it to give one customer a private integration guide, or to share beta endpoints with design partners only, without exposing the rest of your private docs.
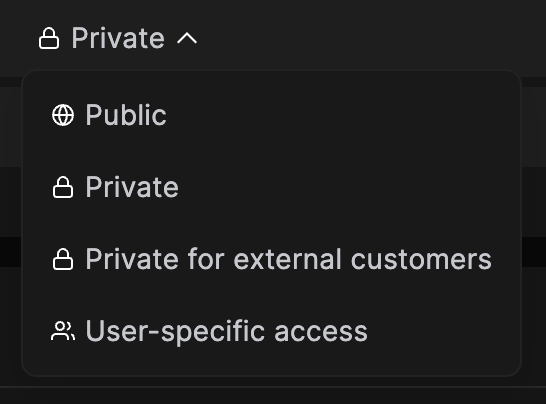
Only guest viewers are affected. Editors and Admins always see every section, so user-specific access controls what your invited viewers and external readers can open, never your own team.
To set it up:
1
Open the section's access settings
Select the section or subsection and open its visibility dropdown.
2
Choose User-specific access
Pick User-specific access from the list. It sits alongside Public, Private, and Private for external customers.
3
Add the viewers
Make sure each person is invited to the project, then enter their email addresses and confirm. Only those users, plus Editors and Admins, can see the section.
Who this applies to. Advanced access management governs visibility for both your internal team (the Theneo users you invite) and external readers outside Theneo. External readers reach private content by signing in through your branded login portal, a separate login from the Theneo platform available as an add-on, or through password-based access on a custom domain (below). To enable a branded login portal, contact the Theneo team.
Someone can't see a private section? Confirm they were invited to the project, added to the section for user-specific access, or added to your external hub for external customers, and that they have signed in. If you made a section private and can't see it yourself, that is expected: check it in preview or with an account that has access.
Password-based access for private projects
Grant access to many users at once, without inviting each individually, using a password on a custom domain.
Prerequisites
- Private project: the project must be set to private.
- Custom domain: the project must have a custom domain configured.
Set it up
1
Open Access Management
Open your project dashboard and click the Access Management tab.
2
Verify your settings
Confirm the project is Private and has a Custom Domain set up.
3
Set a password
Find Set Password for Easy Project Access, enter a secure password, and click Set Password.
4
Share the URL and password
Copy the custom domain project URL (this will not work with Theneo's domain) and share it, along with the password, with your customers.
5
Access
Users open the shared URL, enter the password, and the project content becomes accessible.
Troubleshooting
- Incorrect URL: ensure you shared the custom-domain URL, not Theneo's domain.
- Forgotten password: reset it in Access Management and share the new one.


On this page
- Access Management